Flow, work, flow.
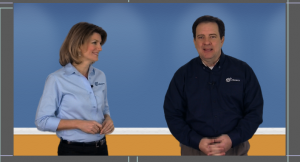
I’ve been working on a project with a quick turnaround time for the last week. It was shot last Wednesday and Thursday, and will be presented next Tuesday. It’s essentially a training video with a 20 minute runtime. It’s very straightforward, but it’s still got challenges. It’s probably 97% chroma key footage mixed with a lot of facts that have to be totally accurate, and some other visual representations. It also happens to have the most complex workflow out of any project I’ve ever worked on. It’s been interesting to apply a lot of things I’ve learned or have been learning on fxphd because before this project it was all theory to me. With such a time crunch, a wrong decision in planning could wind up with me being up all night – or worse, missing a deadline.
Fortunately, everything has gone well so far. Here’s a recap of what I did.
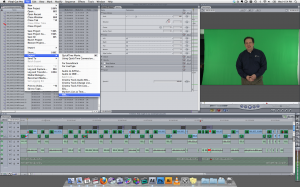
1. Ingested the footage into FCP and organized it.
2. Edited the raw greenscreen. I kept it at 1080i so I would be able to re-position the footage later if necessary. While editing, I did some simple arranging with motion controls to get an idea for how things will work together. There are a few times when the two talents are on screen together but were shot on different days and it was important to get timing right.
3. Once I got the edit the way I wanted, I removed attributes from all the clips. Now my sequence had 3 video tracks – one with all of one talent, one with the other, and one with mattes to mark where I wanted to cut away to an informational frame. The parts with two talents on at the same time were stacked.
4. Next, I exported the sequence as XML (version 4, I heard 5 doesn’t work right but that might be outdated.)
5. I don’t have Automatic Duck, so I opened (dusted off) Adobe Premiere and imported the XML.
6. Everything imported fine, so I saved the project just as an Adobe Premiere Pro project.
7. Then I opened After Effects and imported the Premiere Pro project.
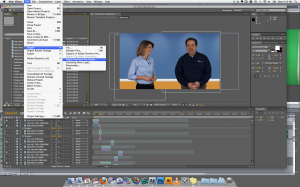
8. Yea, 8 steps to get to AE. Anyhoo, I finished all the motion graphics in AE.
9. I exported the audio from AE back into FCP to make sure the clips still lined up (I had to make a couple of edits in AE), then took the audio clips in FCP and sent them to Soundtrack Pro for some noise reduction, EQ, and compressing.
10. When the work in AE was completed, I exported the entire project as an image sequence. I got a tip on Twitter to do this for long renders that were heavy on the processing so if it crashed, you could pick it back up where it left off. It ended up only crashing twice. After the second time I managed to get the memory cache and everything in the right place and it seemed to be happy. I ended up with 32,000 TIFFs which took about 8 hours.
11. I opened the image sequence in Quicktime Pro, and then saved it as a self contained file. The reference movie didn’t seem to work all that well. The only problem with using QT for this is that when you use Open Image Sequence, there’s no indication the application is doing anything and 32,000 frames takes a good while to load. I used this movie in FCP to double check the audio would be matched up.
12. I sent the self-contained movie to Compressor to make the m2v for a DVD.
13. I also exported the audio from FCP and sent it to Compressor to make the ac3.
14. I dropped both the m2v and ac3 into a track on DVD Studio Pro and crossed my frickin fingers that they were exactly matched up.
2 days of shooting, 7 applications, and 32,000 still frames later, I had a 20 minute training video.


